Video Creation Using AI Agents - A Letter from Summer 2026
Video Creation Using AI Agents - A Letter from Summer 2026
Over the past months as an intern, I have been working on different approaches to creating AI-generated videos. With the hope of creating better, more realistic videos, I tried approaches that involve more than simply inputting text prompts into video models.
When using traditional text-to-video models, the two main issues that I noticed were:
- Unrealistic-looking videos. When trying to create videos that are supposed to be realistic or in the style of the real world, the output is often very clearly AI-generated. Some obvious tells include the character inconsistencies across shots, the visual glitches, or something just feeling "off" about the video.
- Unrealistic physics within the videos. When creating videos that should include realistic physics, there are frequent issues with gravity, energy transfer/conservation, and clipping.
Wan 2.7, Seedance 2.0 and HappyHorse 1.0 are some of the more prominent models currently. From personal experience, Wan 2.7 is a very flexible model that allows for a variety of workflows, such as text-to-video, image-to-video, reference-to-video and video editing. Seedance seems to be able to generate the most realistic output consistently, and HappyHorse is a newer model showing lots of promise.
Using some of these publicly available models, I attempted to solve these two issues in separate ways:
Director Skill:
I attempted to fix the unrealistic videos with the director skill. At a high level, this skill face swaps a person from a user-uploaded image with a character from a famous movie scene, animates the shots, then stitches them together to recreate the scene, complete with AI-generated dialogue that can be edited using prompts.
Each scene is a folder under skills/director/templates/<name>/. Using the template I made for a scene from the movie McLintock! as an example, the directory is as follows:
mclintock/
├── template.yaml          # metadata, character mappings, photo requirements
├── refs/                  # reference stills for each shot
│   ├── shot_1.png         # McLintock + Drago
│   ├── shot_2.png         # Dev Warren — will be face-swapped
│   ├── shot_3.png         # McLintock + Drago
│   ├── shot_4.png         # Dev Warren — will be face-swapped
│   ├── shot_5.png         # McLintock + Drago
└── prompts/
    ├── face_swap_prompt.txt    # per-shot expression-locked prompts
    └── video_gen_prompts.txt   # per-shot motion + dialogue prompts
To create a template for a scene, I first took screenshots from the original movie scene at the start of the character's lines; these images are the shots in the refs/ folder. Then, for the shots that needed to be face-swapped, I experimented with different prompts for each shot until I consistently got satisfactory results with a wide range of different faces; these prompts are stored in prompts/face_swap_prompt.txt. Afterwards, each shot went through the same trial-and-error process to find a video generation prompt that consistently somewhat recreated the original shot from the movie; these prompts are then stored in prompts/video_gen_prompts.txt.
The steps in the skill are as follows:
1. The user uploads an image that meets the requirements specified in template.yaml. For McLintock!:
photo_requirements: >
  Clear front-facing portrait. Remove hats, glasses, masks,
  or anything covering your face.
The requirements exist because, through trial and error, I found that photos with face coverings did not work well with face swaps.
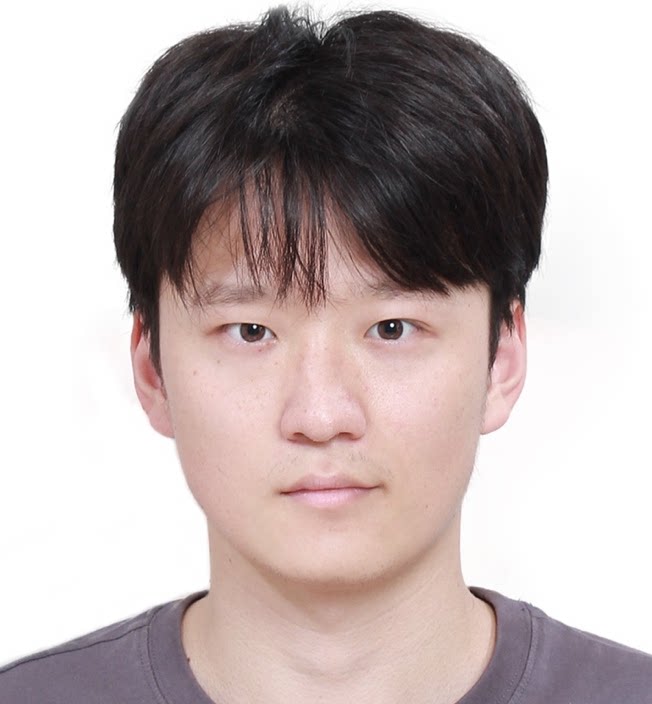
2. The image is pre-processed using OpenCV and InsightFace, which uses a face finder and crops the area around the face. This step is necessary because I found that if a full-body image is entered into face swap, sometimes the face of the character is swapped onto the face of the submitted photo, instead of the other way around.
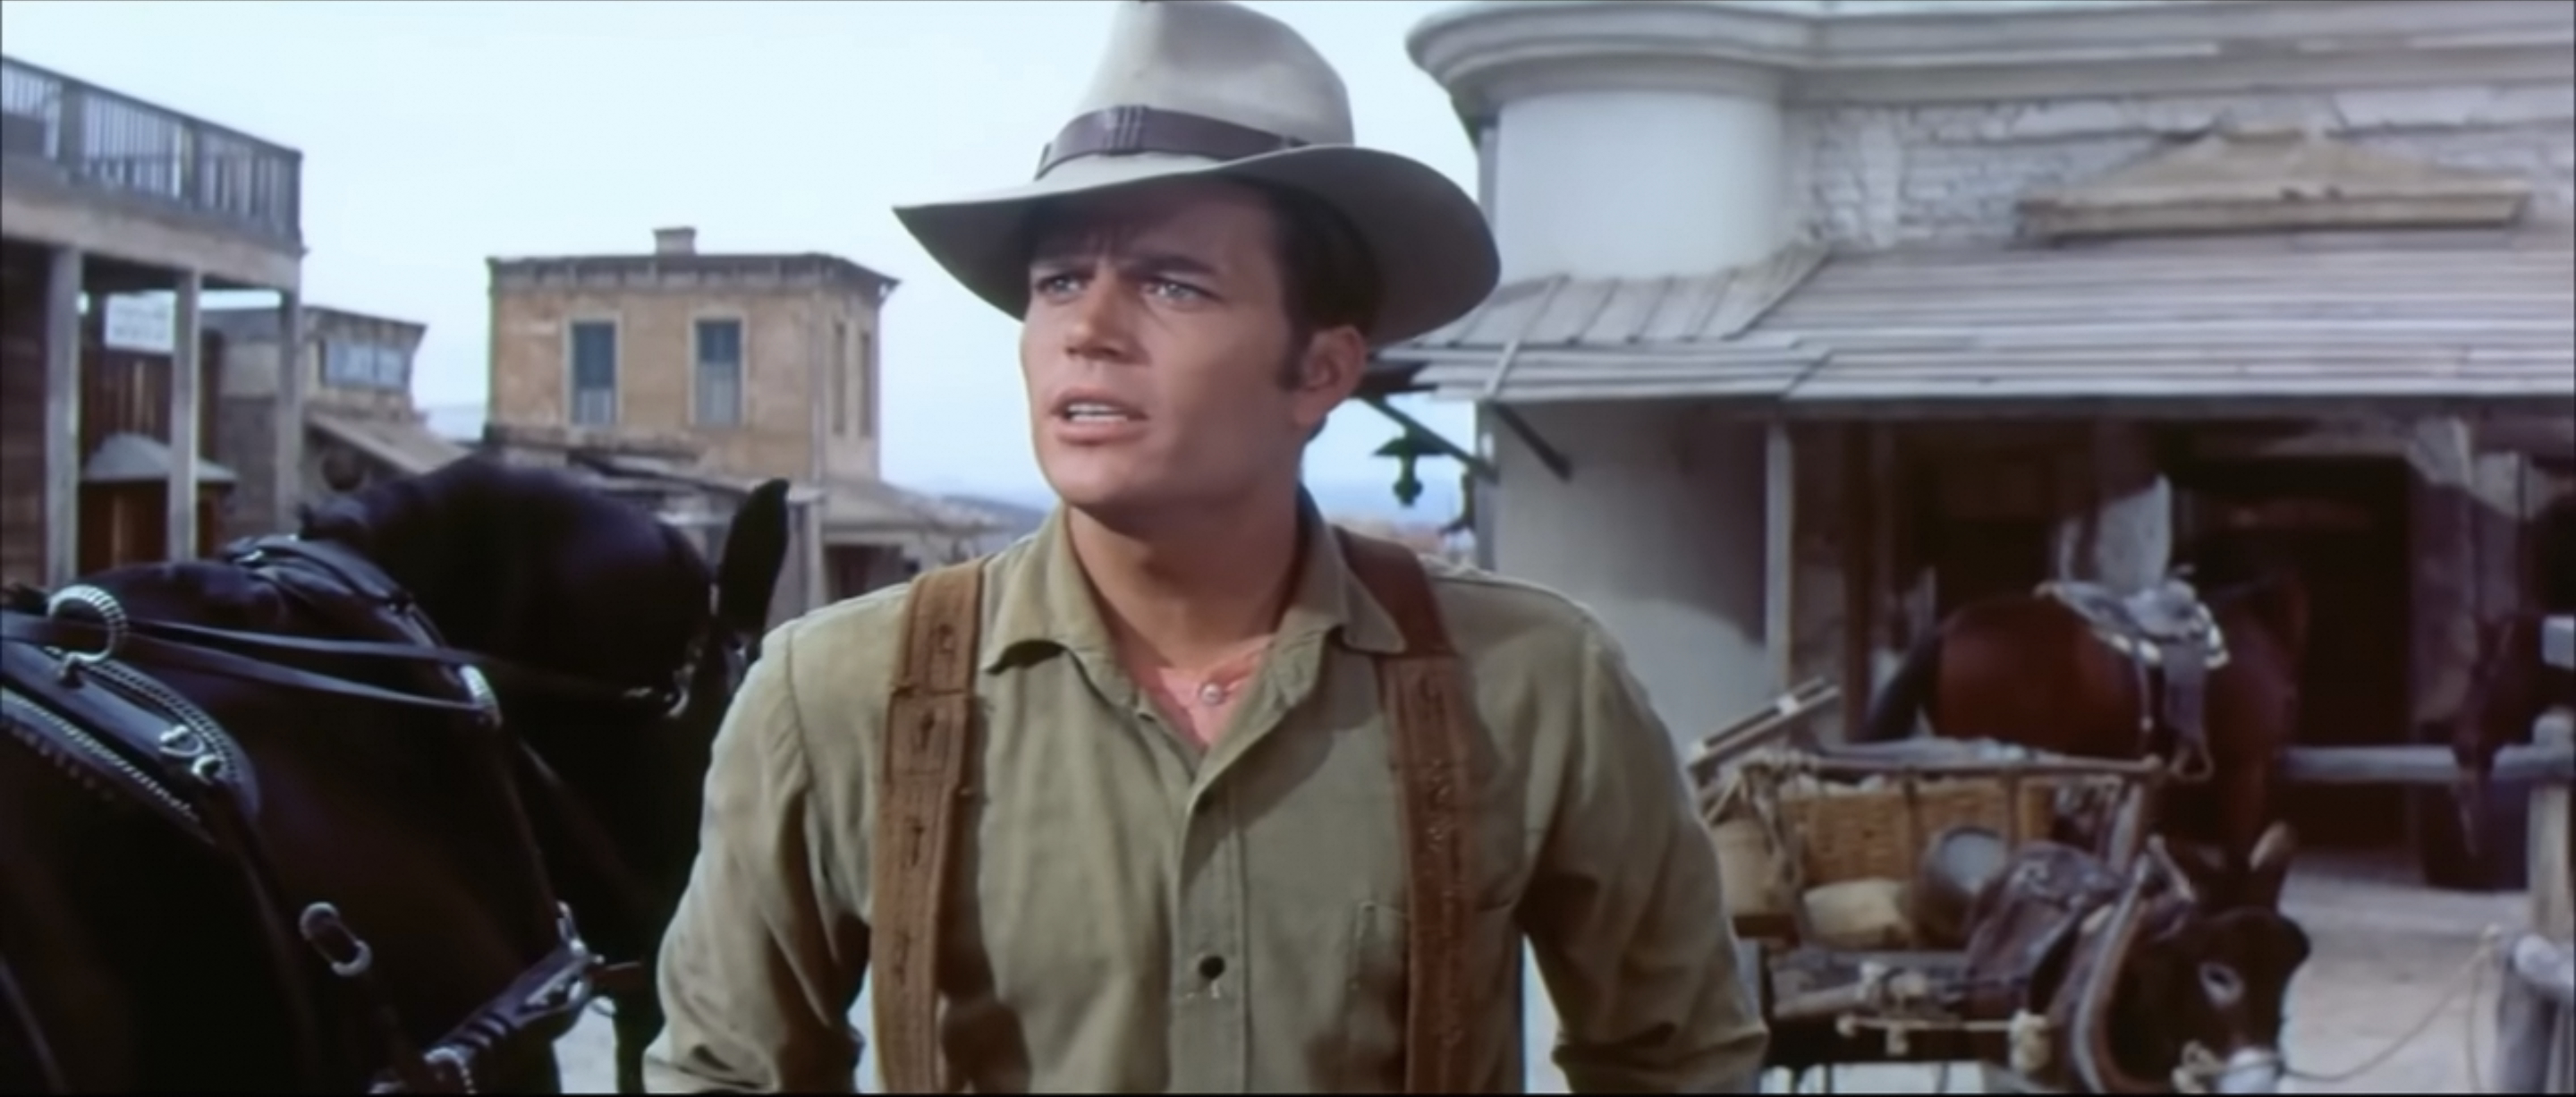
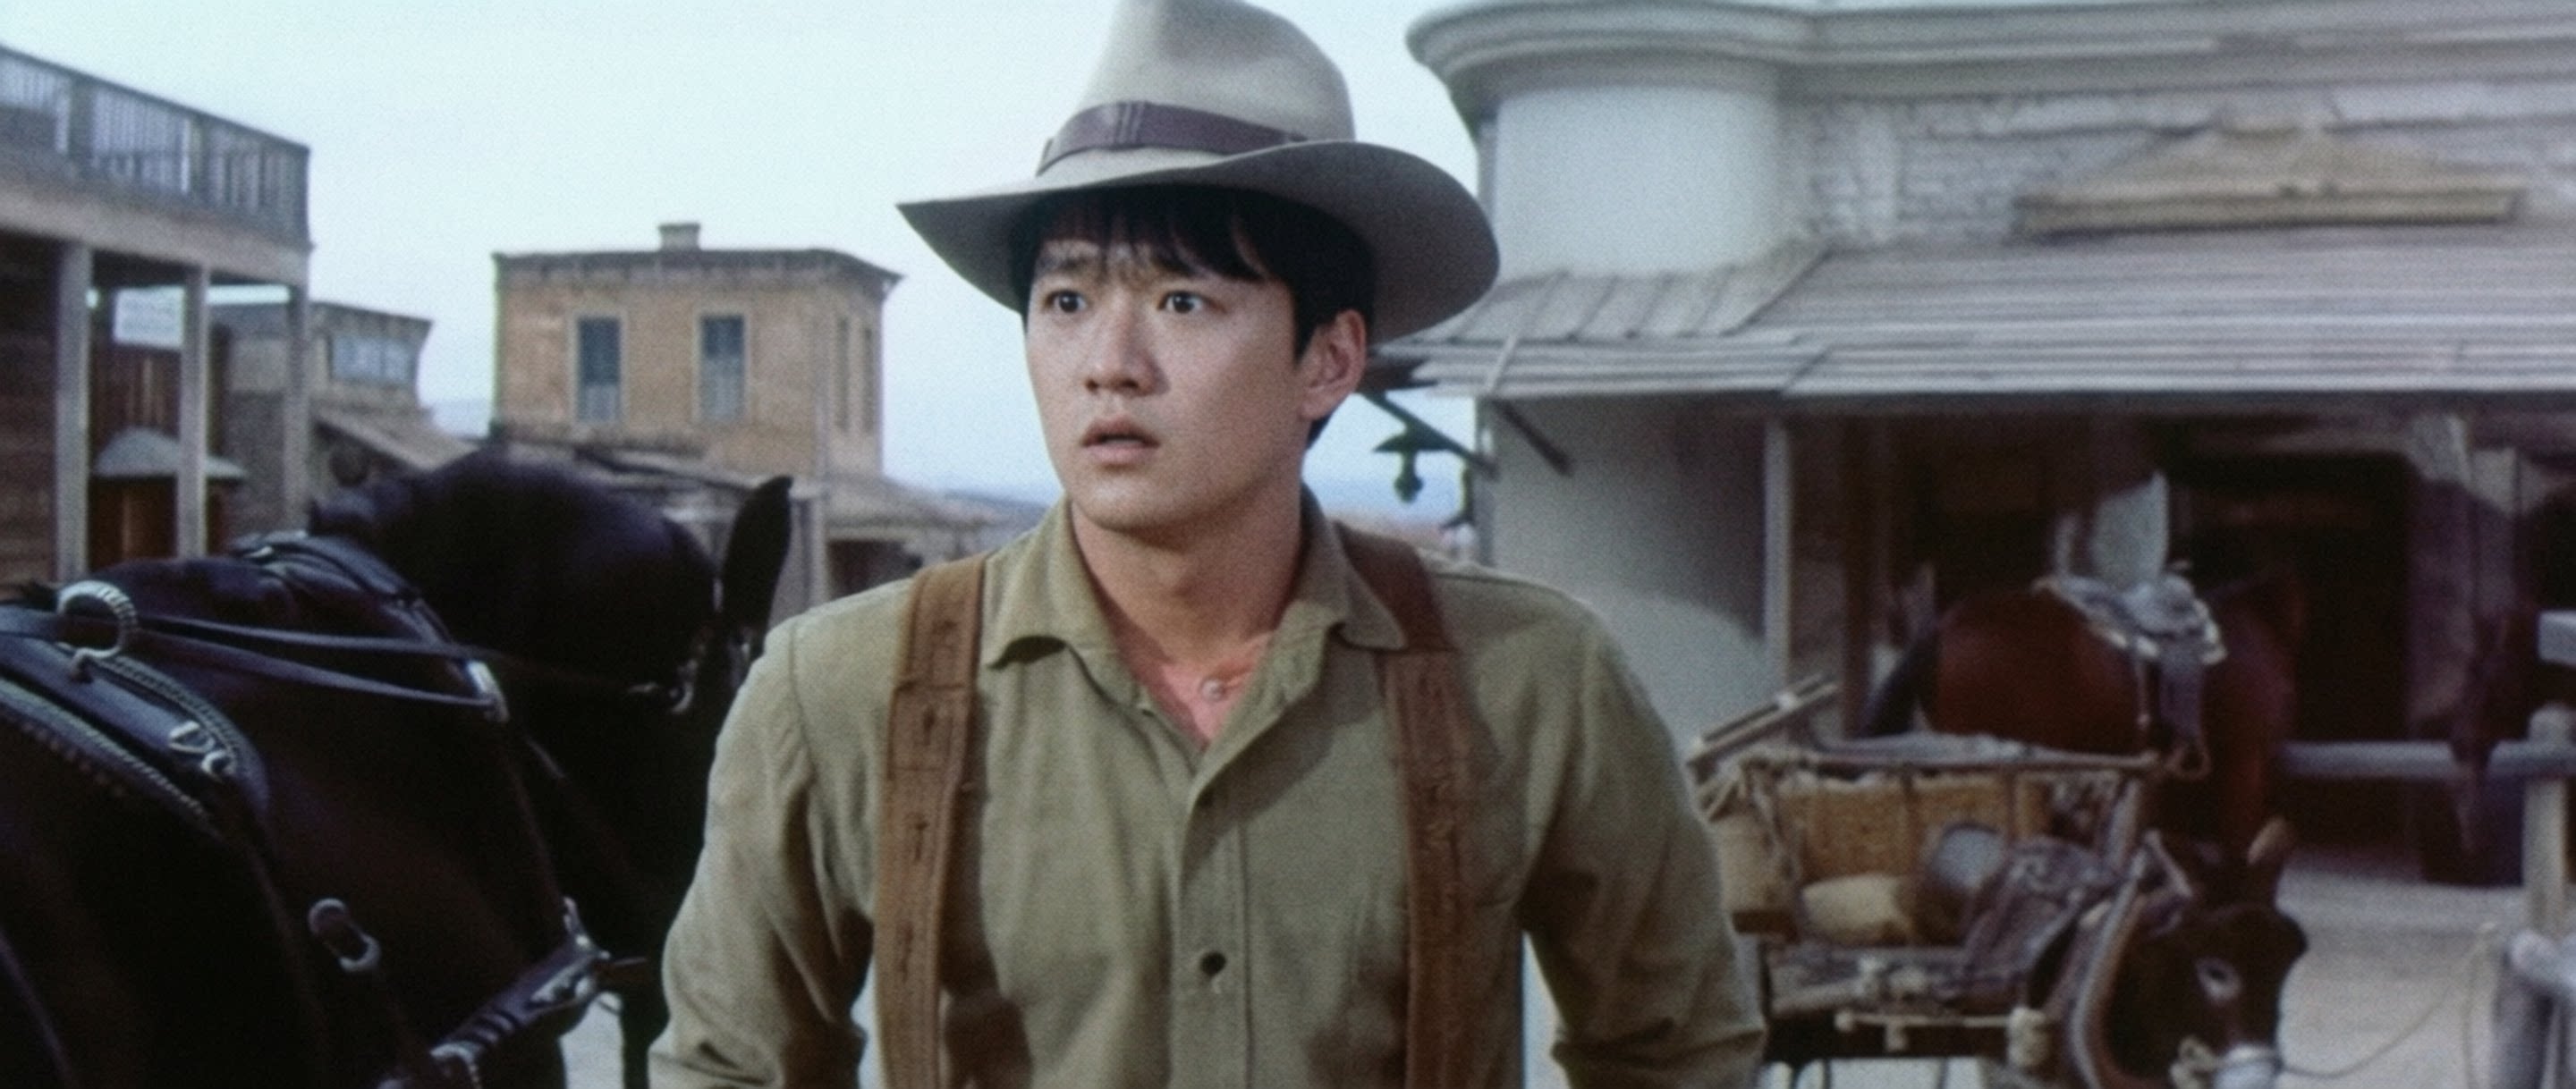
3. Face swap is done using the cropped image, the shot from the movie, and the face swap prompt. The model used is Qwen Image 2.0 Pro. Resizing is done on the output image to match the original. Here is an example face swap prompt for the McLintock! template:
Keep the facial expression from the FIRST image exactly: serious, intense, mouth slightly open speaking. Change only the face and hair to match the SECOND image. Match the lighting and skin tone on the face to the first image. Keep the face size proportional — do not make the head larger than in the first image. Do not change the expression — keep the EXACT expression from the first image. Do not make the person smile or look happy. Everything else from the first image stays unchanged: background, lighting, outfit, pose, composition.
Here is an example face swap result from shot 2 of the McLintock! template:
4. Video generation for each shot is done using the wan2.7-i2v model. It takes the image to use as the first frame of the generated video, along with the prompt stored in video gen prompts. The prompts also include the dialogue for the characters, which I found to be the best approach to incorporate speech.
5. The final video is stitched together using FFmpeg
The final output of the skill is as follows:
videos/mclintock/
├── face.png              # cropped photo
├── refs/
│   ├── shot_2.png        # face-swapped Dev Warren
│   ├── shot_4.png        # face-swapped Dev Warren
├── clips/
│   ├── shot_1.mp4        # McLintock + Drago — straight from template ref
│   ├── shot_2.mp4        # Dev Warren — generated from swapped ref
│   ├── shot_3.mp4        # McLintock + Drago
│   ├── shot_4.mp4        # Dev Warren
│   ├── shot_5.mp4        # McLintock + Drago
└── output/
    └── mclintock.mp4     # final stitched video
I found that this skill worked for scenes with majority dialogue and minimal action. The face swaps were realistic, and as long as there was no camera movement, the backgrounds were believable and fitting to the original scene.
After creating the McLintock! template, I tried to create another template for the movie Crouching Tiger, Hidden Dragon. This template had a much greater focus on action and less on dialogue. I also wanted to test how well the generated videos could mimic the unrealistic physics of the people floating through bamboo forests and skipping on water. Instead of the face swaps used in McLintock!, I opted for full-body swaps, given that the characters on screen were often tiny and their faces were blurry.
The results were of lower quality than the dialogue-focused McLintock! template. It was difficult to get the body-swapped character to be in the pose of the original character, even after numerous attempts with different prompts. After a prompt appeared to work, switching to another person to swap in would somehow alter the result to be worse. The videos generated were also not ideal: objects randomly appeared, swords clipped through each other, and characters hovered and moved in unrealistic ways, even for master warriors from China.
It is important to note that in the template creation stage of this skill, the only image model that I had access to for face/body swap was Qwen Image 2.0 Pro and the only video generation model that I had access to was Wan 2.7; other models may have produced better results without needing as much adjustment.
Blender Video Skill:
I attempted to fix the unrealistic physics with the Blender video skill. This skill is essentially a pipeline that uses a generated Blender scene video and creates a video with controllable physics after enhancing the render of the Blender video with AI models.
Unlike the director skill, I did not need to create any templates for this skill; everything is done between the user and agent in the chat.
The steps to this skill are as follows:
1. The user describes the scene that they wish to create, and the agent creates a scene in Blender using a generated Python file. This scene includes entities present in the final video represented by basic shapes, camera setup and movement, lighting, and keyframes to animate. The user chats with the agent and makes adjustments to the scene until the scene is acceptable.
Here is an example of a series of adjustments I made through the agent:
This was the original file created without any changes, the wings are clearly moving incorrectly:
The following is my conversation with the agent:
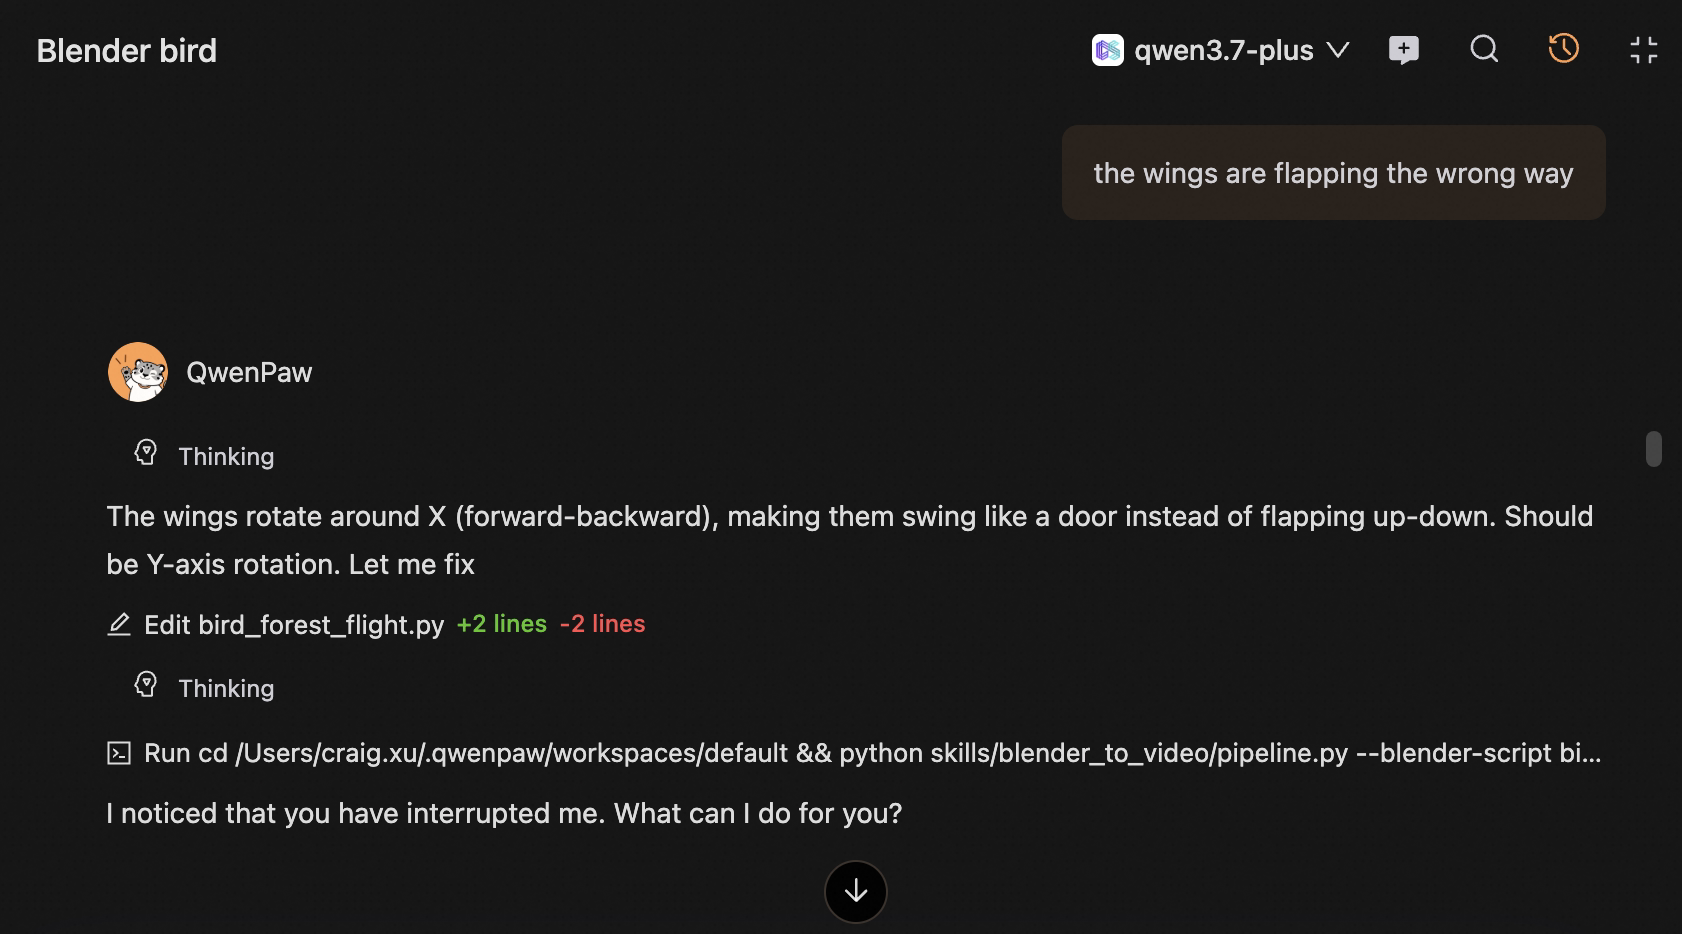
Then, it was flapping with the short side of the rectangle facing outwards, so I entered this:
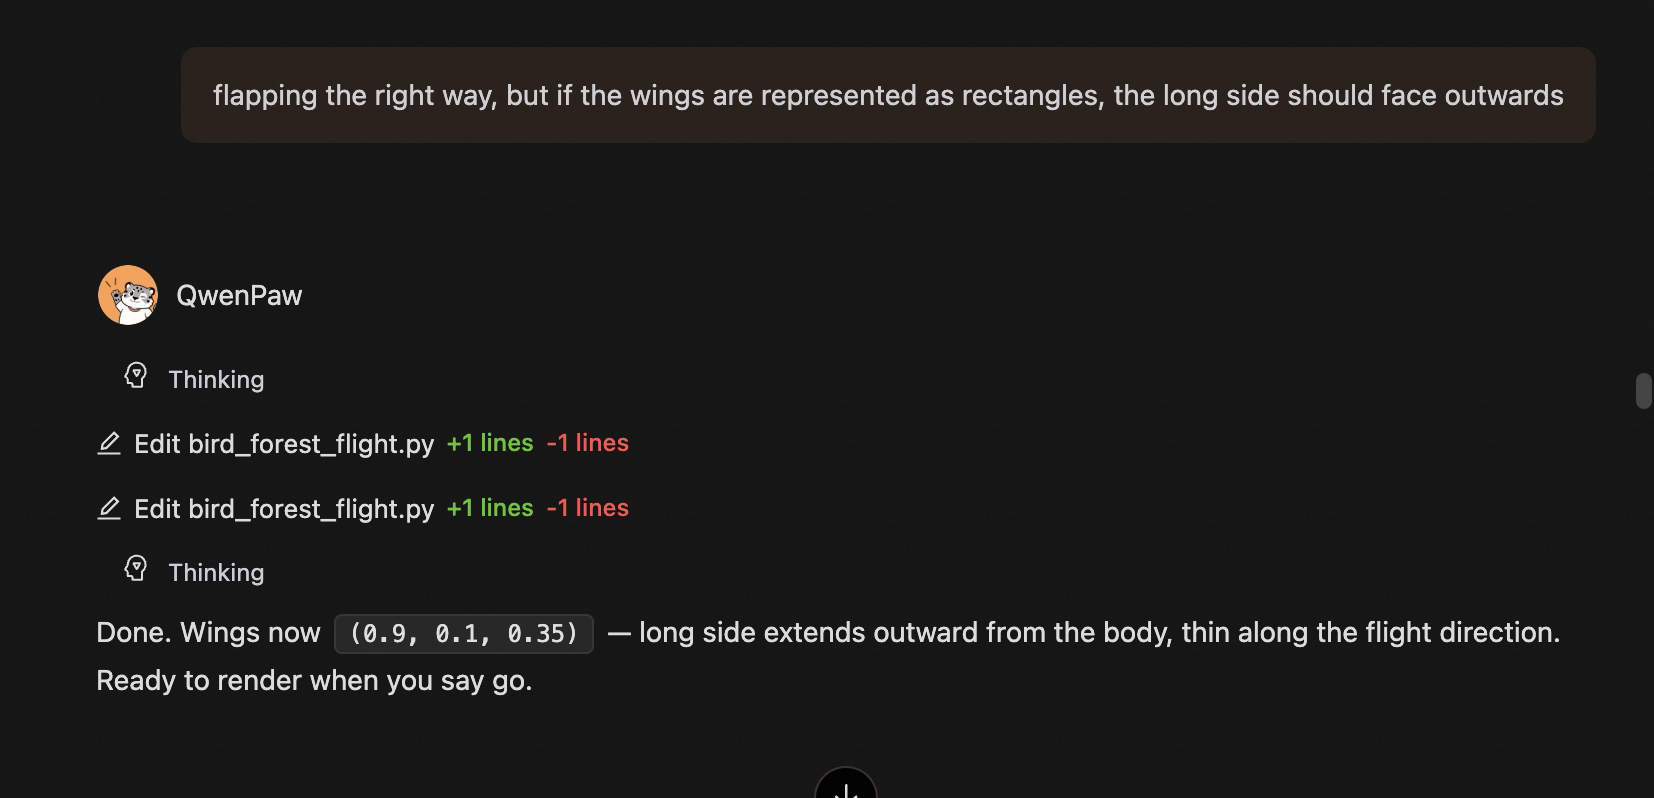
After the last change, the long side is facing outwards, but the wings were flapping up and down with the thin side of the rectangular prism, so I entered this:
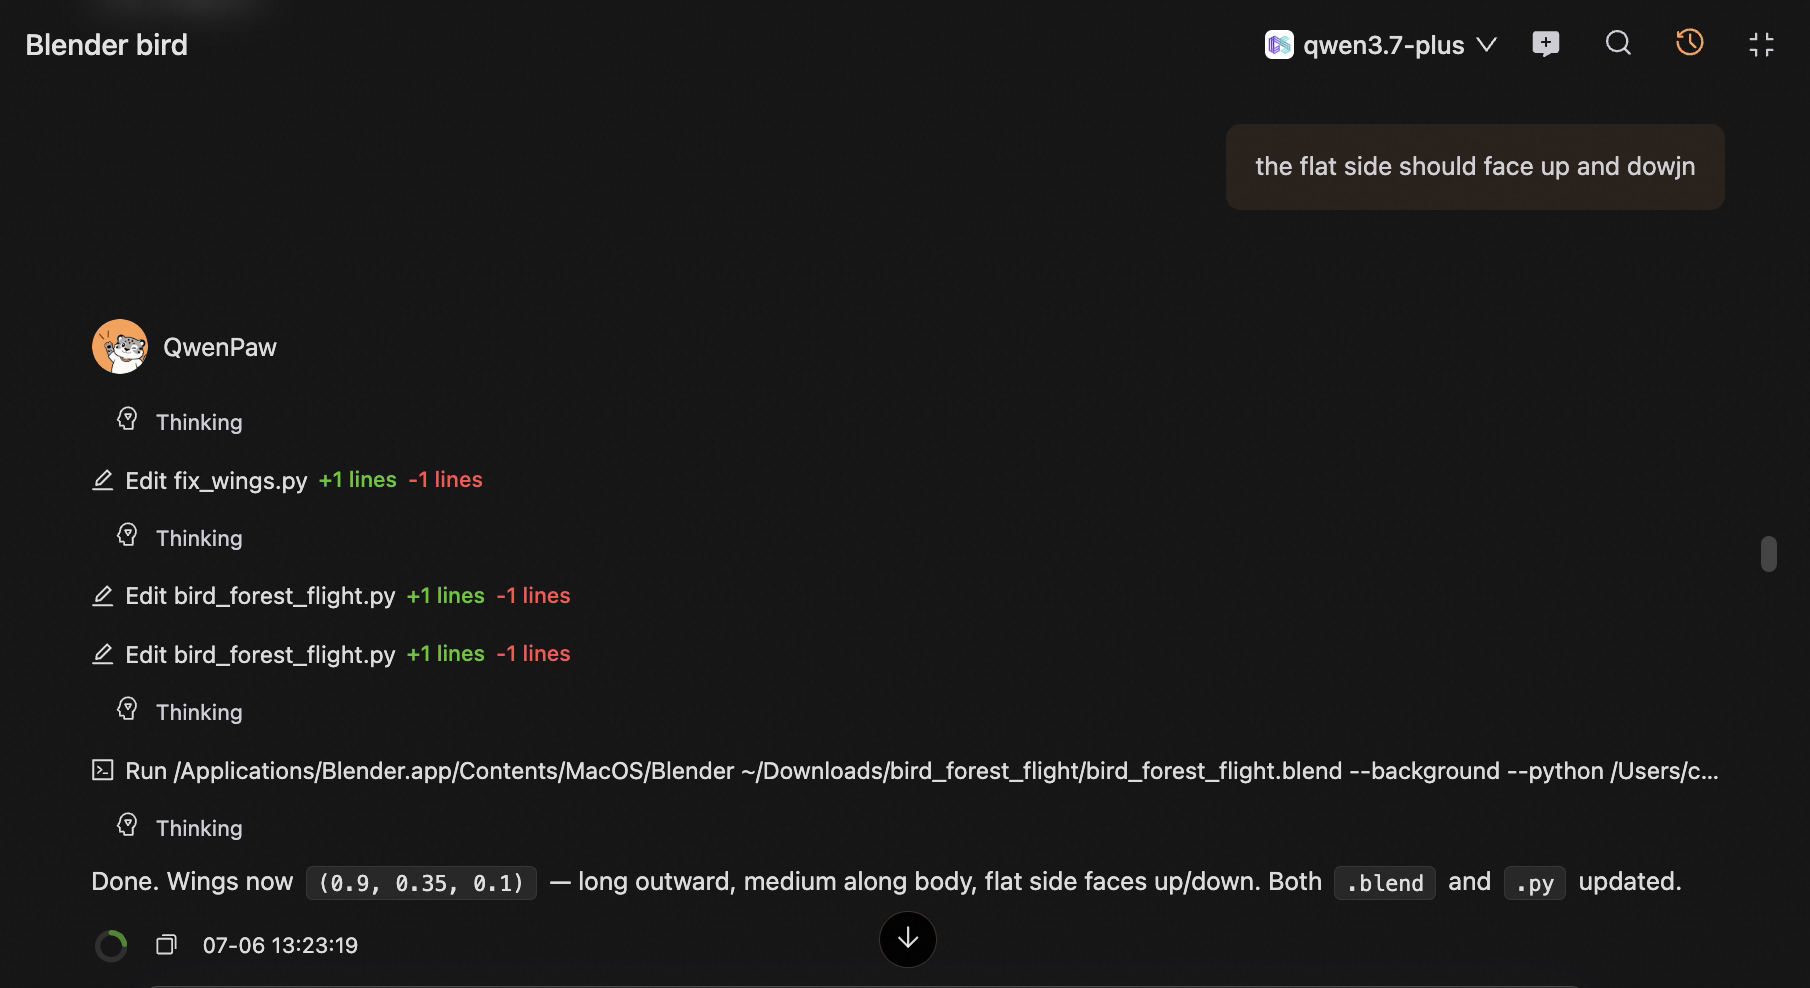
The final good product is the video shown in the following step.
2. The scene is rendered as a series of low-quality images to speed up the process, and the images are stitched together using FFmpeg to create the Blender video
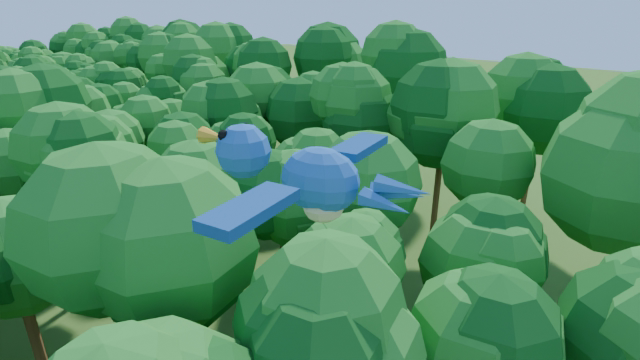
Here is a sample render of a Blender video with only simple shapes:
3. Frame 1 of the Blender video is sent to OpenAI's GPT Image 2 model and something similar to the following prompt is used:
"Edit this image: convert all basic geometric shapes into photorealistic versions while keeping the exact same camera angle, object positions, and composition. The blue sphere/cube bird becomes a real blue-and-tan songbird with detailed feathers, the orange cone becomes a real beak, the cube wings become real feathered wings. The brown cylinder trunks become real tree bark, the green sphere canopies become lush leafy forest canopies. The green ground plane becomes a real forest floor with moss and fallen leaves. The background becomes a dense sunlit forest with realistic sky peeking through the canopy."
The user then makes adjustments by chatting with the agent as needed.
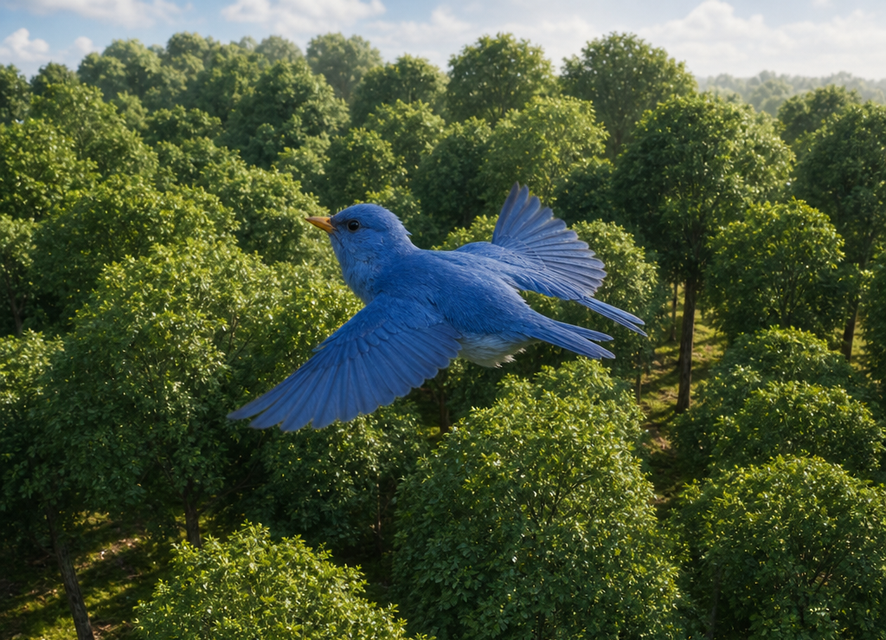
Here are the side-by-side results of the first frame from Blender video and GPT Image 2 results:
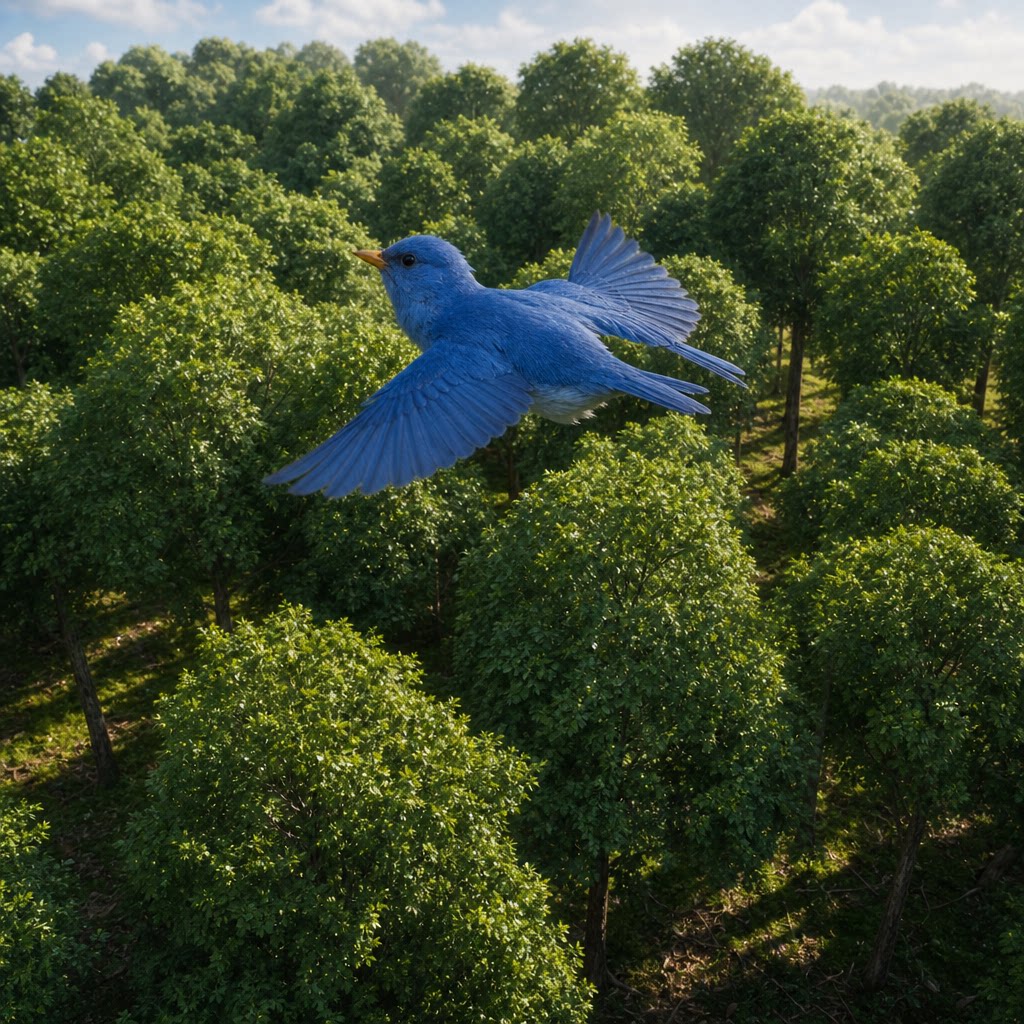
4. The Blender video and the GPT Image output are both uploaded to the HappyHorse 1.0 Video Edit model, which uses the GPT Image as the stylistic reference to apply to the Blender video. The output is a video that follows the exact motion of the objects from the Blender video while applying the style of the realistically generated GPT Image. The downside to this model is that it often lacks the desired realism because it only loosely follows the style of the GPT Image.
The output is as follows:
~/Downloads/bird_forest_flight/
├── bird_forest_flight.blend                      # Blender scene file
├── bird_forest_flight_frames/
│   ├── frame_0001.png                            # rendered frames
│   ├── frame_0002.png
│   └── ...
├── bird_forest_flight.mp4                        # raw Blender render
├── bird_forest_flight_gpt_frame.png              # GPT photorealistic image
├── bird_forest_flight_pipeline_checkpoint.json   # resume state
└── bird_forest_flight_ai_video.mp4               # final AI video
Here is the final result received from HappyHorse:
Generally, this skill is able to follow the animation from Blender quite well. However, if the Blender video has unrealistic physics, the video follows suit as well. It can be difficult for AI models to generate realistic scenes and physics in Blender and many back-and-forths are often required with the agent to correct the Blender scene and animation. I believe that this skill would work best with someone with previous Blender experience who is able to edit the Blender file themselves to correct any errors.
Another option for the video generation available to me was Wan 2.7 r2v, which can take the GPT image as the first frame and use the Blender video as the reference instead. Although the generated video follows the GPT image's style and realism better, these videos often stray away from the motion of the objects from the Blender video.
This is the result from Wan 2.7 r2v with the same inputs:
Since the problem at hand is to solve the physics issues by having the objects follow a specific motion from a Blender video, the HappyHorse model was clearly the better choice.
Again, it is worth noting that I had limited options for the video generation model used.
My Thoughts
As of today, I feel that the state of AI-generated videos is stuck in an awkward middle ground, where it is good enough to be useful and impressive in certain situations but can be frustrating to use in many other situations as well.
Two major problems still persist: unrealistic videos, and unrealistic physics. The director skill is my attempt at solving realism, where it bypasses the character inconsistency issues and the off-putting visuals by directly using face swapping on real movie footage. The Blender video skill is my attempt at solving physics, where it bypasses the need to generate footage with realistic physics by forcing the model to follow the video from an animation software where physics can be controlled.
While these skills both somewhat solve the issue at hand, they are ultimately just makeshift solutions that will not be viable in the long term for the average user. Not only do these skills take a long time to run, the constant back-and-forth with the agent and multiple API calls needed to obtain a good result can also be economically taxing and unreasonable for most users, not to mention the copyright issues that may arise with the director skill if certain templates are distributed.
With that said, my outlook on the future of AI-generated videos is still positive. I remember seeing the original video of Will Smith eating spaghetti and thinking to myself that AI-generated videos are just garbage. Just three years later, AI-generated videos are realistic enough that many people fall for fake, AI-generated videos. Whether good or bad, the rapid advancement of the quality in these videos leaves no doubt that soon enough, most people will not be able to distinguish between a real video and a good quality, AI-generated one. As of now, however, creating a high-quality AI-generated video still requires lots of experimentation and trial and error.